Digital wallets
Increase’s cards can be added to digital wallet apps like Google Pay and Apple Pay. The customer will see a card image and icon of your brand when they make purchases using tap-to-pay checkout options in stores. There are some rules and recommendations around how to format your digital card.
Card art image
The main card artwork must be a PNG image of 1536 x 969 pixels. This landscape image should look like a card but not include any features that only exist on physical cards like an image of the EMV card chip, an account number, or expiration date. The image should have square corners because the app platform will round the corners differently to match their design standards. The image needs to include a Visa logo, which can be downloaded from their Brand Guidelines portal. Refer to page 21 of the Visa Digital Brand Guidelines for a full explanation.
Icon image
The icon image must be a PNG image of 100 x 100 pixels. It will be used for mobile notifications related to the card. The icon should be the primary brand associated with the card in the wallet.
Text color
The text color parameter allows you to control the color of the last four digits that are dynamically added to the card art image. This parameter is three numbers between 0 and 255, representing the red, green and blue color channels. This is the same as the rgb(_, _, _) color definition in CSS.
Example
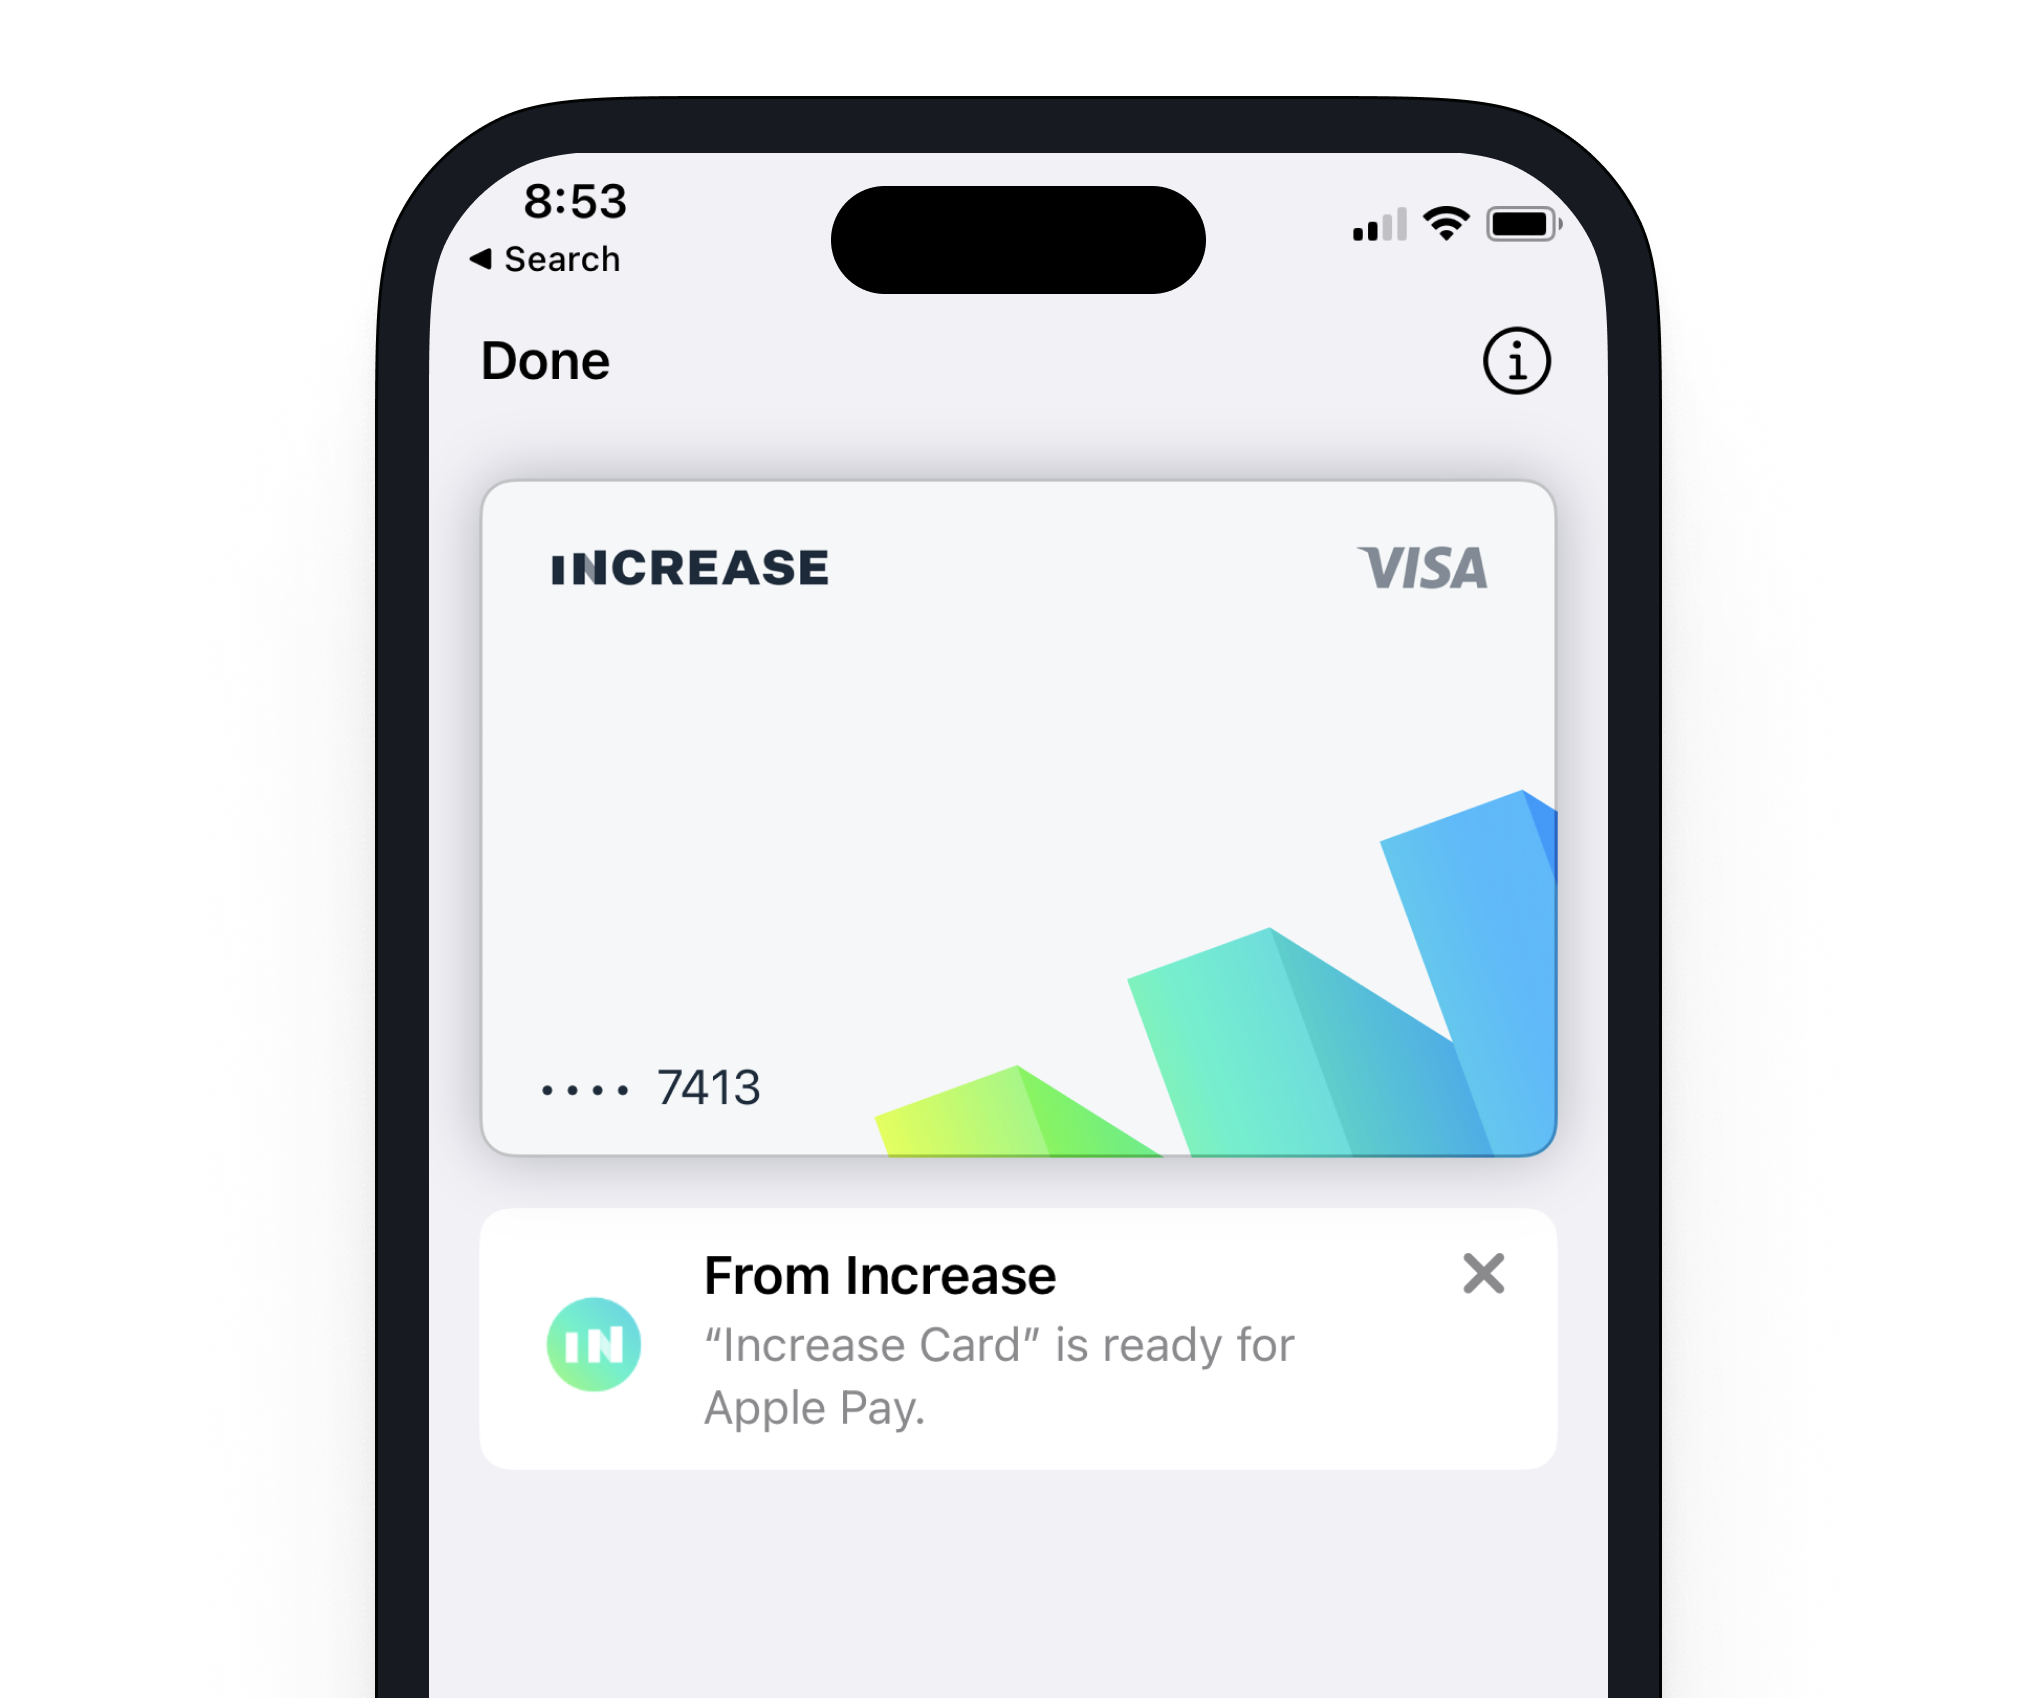
This is an example of how a main image (top) and icon image (middle left) will appear in the Apple Pay digital wallet. The text color is black, or rgb(0, 0, 0).

Tokenization flow
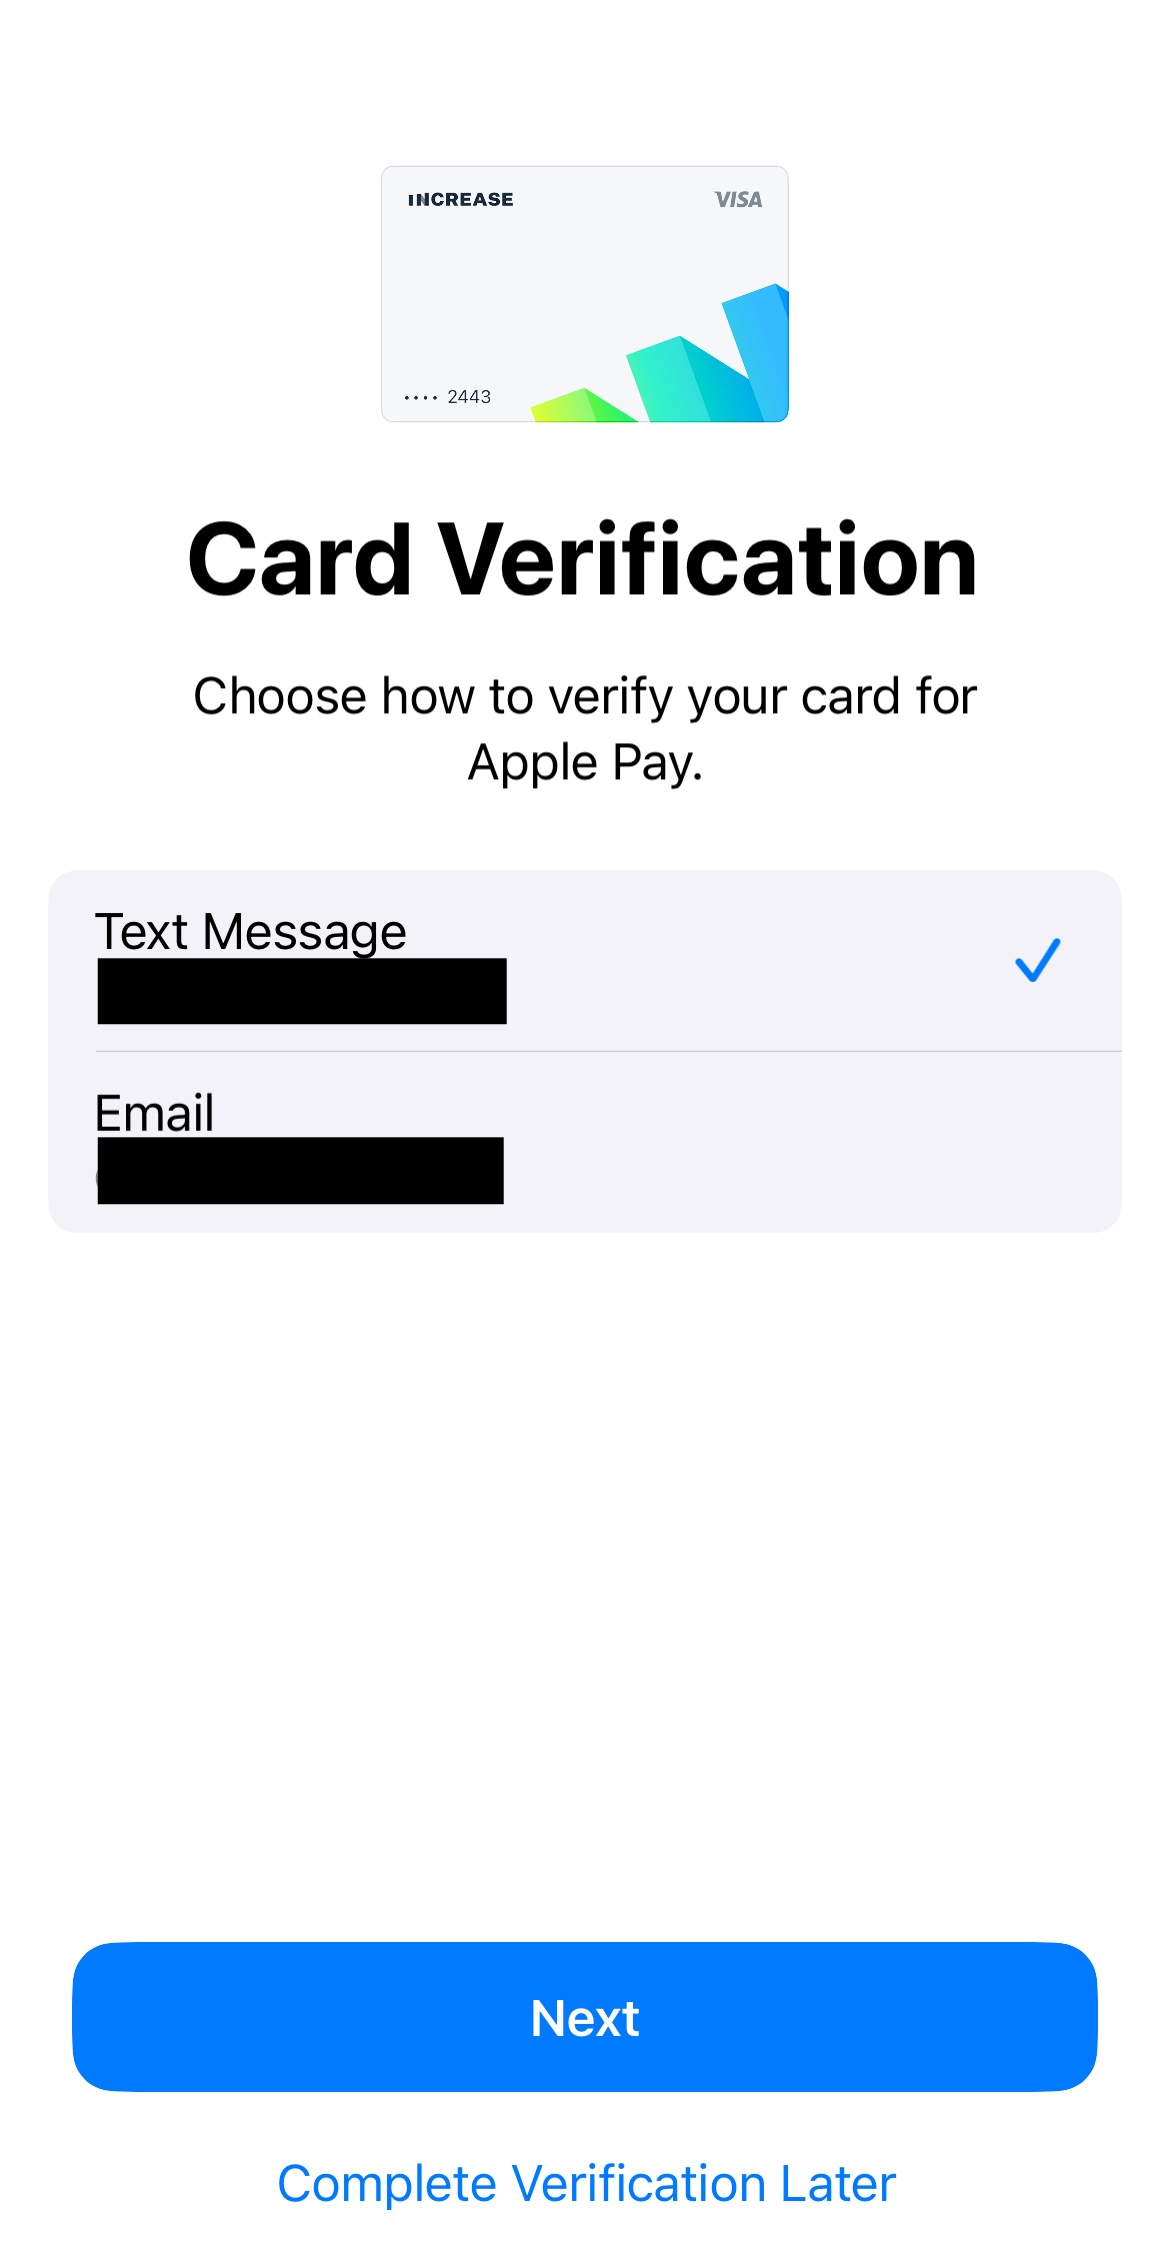
Saving a card number in a wallet follows two main steps, where the first checks whether the card should be tokenized and the second performs two-factor verification of the cardholder using either phone or email. Both of these steps can be controlled dynamically using the real-time decisions API.
Real-time decision: requesting a digital wallet token
The first step in the tokenization flow lets you decide whether the cardholder should be able to save a given card in their wallet at all, and if they should, what contact methods you would like to use to send them the one-time code to verify that they own the card. When no real-time decision handler is present, all cards can be saved in a wallet as long as they are active and have either digital_wallet.phone and/or digital_wallet.email populated. To action the real_time_decision.digital_wallet_token_requested you call the /real_time_decisions/:id/action endpoint like usual, populating the digital_wallet_token sub-hash with the contact details.

Real-time decision: authenticating a digital wallet token
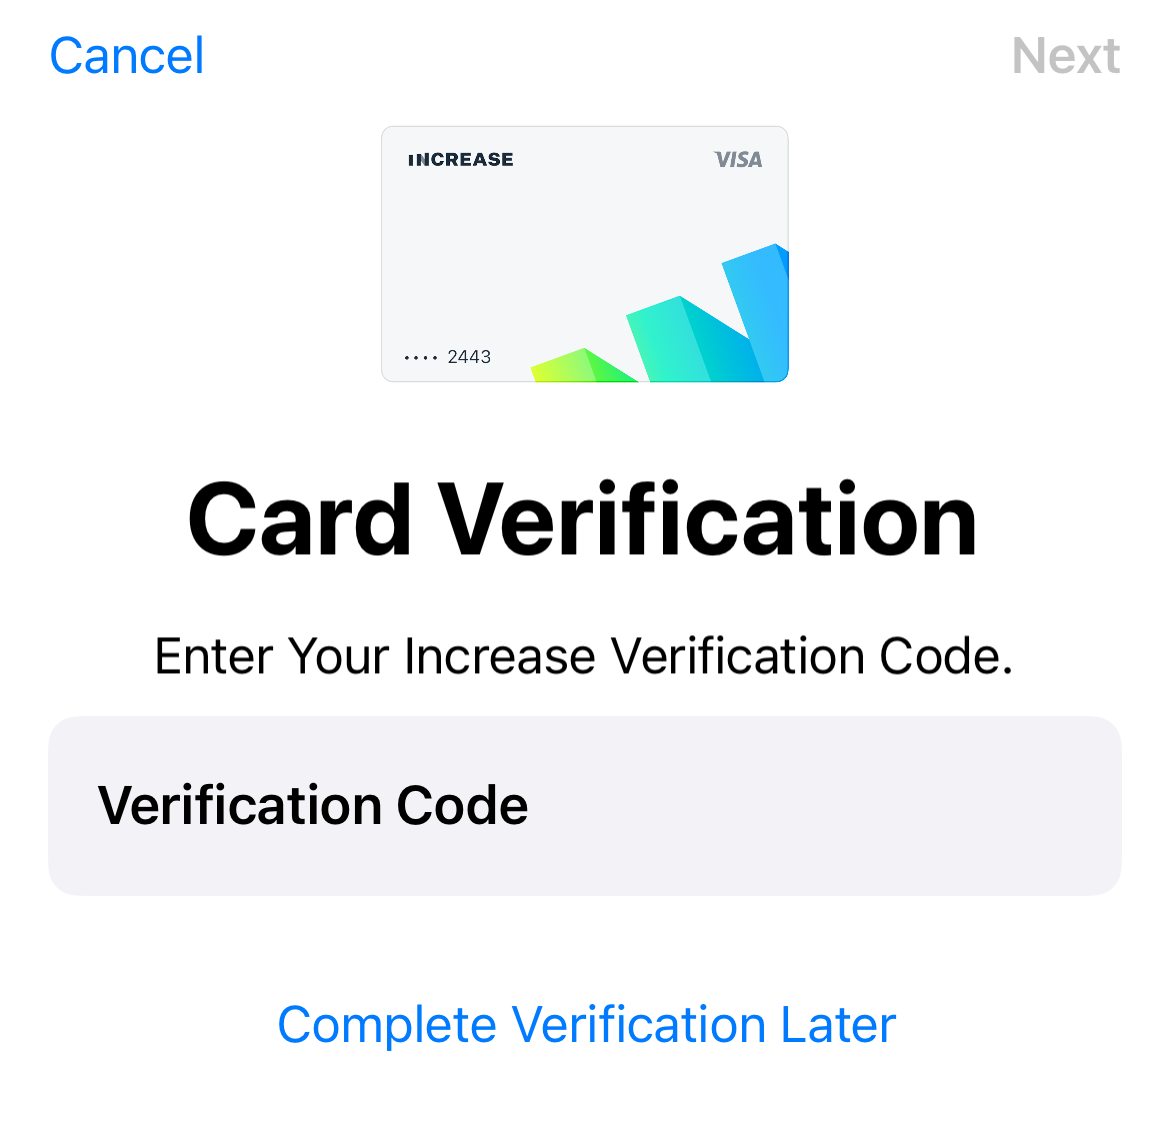
Once the tokenization decision has been made, the customer will choose between the contact methods you provided in the previous step to decide how to receive a two-factor authentication code. Once chosen, we will either send the two-factor code to the cardholder on your behalf, or delegate the communication to you if a real_time_decision.digital_wallet_authentication_requested real-time decision handler is present. Once you receive the real-time decision, you would be responsible for sending the two-factor code to the requested email or phone number, followed by actioning the real-time decision once that’s done.
